

September 3, 2026
/
The fiberglass pool installation process turns a factory-molded shell into a pool you can swim in and turn your backyard into an oasis. Getting your pool into use has about 9 phases – site layout and permits, excavation, base preparation, setting and leveling the shell, plumbing, backfill with a simultaneous water fill, electrical and bonding, decking, and startup.
Because the shell arrives as a finished pool, weeks of on-site construction become days of installation, and most projects move from first call to first swim in a few months, not the year or more a traditional build can take.
A durable, long-lasting pool depends on getting the unglamorous middle steps right: a proper crushed-stone base, a shell leveled within a tight tolerance, and backfill done in step with the water fill so pressure stays balanced.
Some of the work is homeowner-friendly. Some of it, like electrical and often plumbing, legally requires licensed trades. This guide walks you through every stage so you know exactly what happens, what it costs to get wrong, and where you have a real choice in how the work gets done.
Key Takeaways
- The fiberglass pool installation process runs through roughly nine phases, from site layout and excavation to shell set, plumbing, electrical, decking, and startup.
- The shell arrives from the factory as a finished pool, so on-site work is measured in days, not the weeks a poured build takes.
- The base and the leveling are where quality is won or lost: a crushed-stone base and a shell set true keep the pool stable through freeze–thaw cycles.
- Backfill and water fill happen together to keep pressure balanced on both sides of the shell.
- Electrical and bonding require a licensed electrician, and plumbing often requires a licensed pro; owner-builders coordinate these trades rather than doing everything themselves.
The fiberglass pool installation process at a glance
Before the step-by-step, it helps to see the whole map. How fiberglass pools are installed comes down to preparing a stable hole, setting a one-piece shell into it, connecting the water and power that make it run, and finishing the space around it.
The shell itself is the part that would take weeks to build on-site with concrete. Fiberglass pools show up on a truck already molded, cured, and finished with a smooth gel coat surface, which is why the timeline compresses so dramatically.
Here is the full sequence at a glance:
- Site layout and permits: mark the footprint, check setbacks and utilities, pull permits
- Excavation: dig the hole to the shell’s shape plus a working margin
- Base preparation: build and level a compacted crushed-stone base
- Shell set and leveling: crane the shell in and level it precisely
- Plumbing: connect skimmers, returns, and the main drain, then pressure-test
- Backfill with simultaneous water fill: raise water and backfill together to balance pressure
- Electrical and bonding: a licensed electrician wires equipment and installs the bonding grid
- Decking and coping: finish the perimeter and the barrier
- Startup: circulate, balance the water chemistry, and swim
You also have two genuine ways to get the work done, and both are real choices rather than an upsell. On the owner-builder path, the shell is delivered direct and you act as your own general contractor, scheduling the excavator, the trades, and the inspections with our specs, documentation, and guidance behind you.
On the coordinated path, we arrange the work through a vetted installer network so the project is hands-off without a full-service markup. The owner-builder route is the single changer on total cost, but it puts you in charge of the calendar. We’ll revisit this decision later as we get into the process.
Notet: this is not a weekend do-it-yourself job, and owner-builder does not mean solo. Excavation needs heavy equipment and an experienced operator, and the electrical work must be done by a licensed electrician.
Curious how the buying side lines up with the building side? Our pool ordering process shows how delivery, path selection, and scheduling fit together before the first shovel hits the ground.
Step 1: Site layout, design, and permits
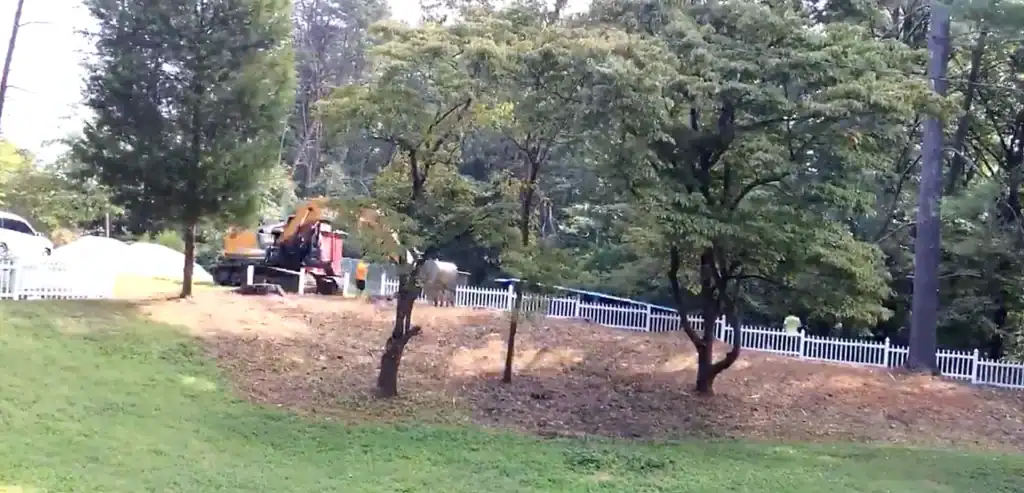
Every installation starts on paper and then on the grass. You confirm the pool model, shape, and exact placement in the yard, then mark the footprint with paint or stakes so everyone can see where the shell will sit. This is the moment to check setbacks from the house, the property line, and the septic field, and to route around underground utilities. Calling 811 for a utility locate is not optional; it is how you avoid hitting a gas or power line during the dig.
Permits belong here too. Nearly every jurisdiction requires a building permit for an inground pool, and many require electrical and barrier or fence permits as well. The rules vary widely by state and county, which is why permitting is one of the steps owner-builders lean on us for most. Getting the paperwork approved before excavation protects you from fines, forced removal, or resale headaches later.
Good planning at this stage also means preparing the surrounding yard for access. The delivery truck and the excavator need a path, and you need somewhere to put the soil that comes out of the ground. Our guide on how to prepare your yard for a pool covers access width, tree and fence clearances, and staging space so nothing stalls on install day.
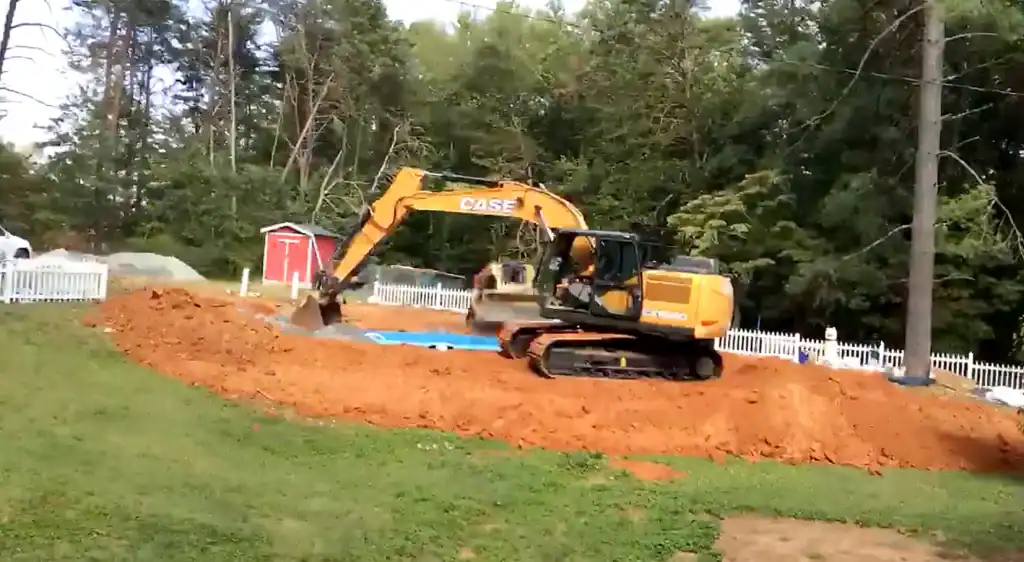
Step 2: Excavation and digging the hole
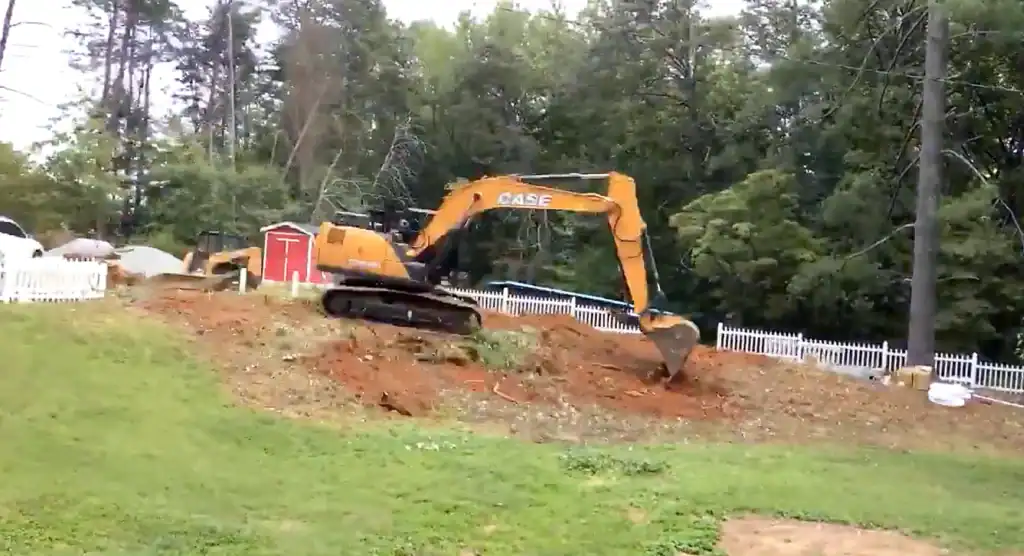
With the layout marked and signed permits in hand, the excavation crew digs the hole to match the shell’s shape, plus a working margin around the edges. The operator follows the model’s dimensions closely, over-digging slightly to leave room to set the shell, run plumbing, and backfill cleanly.
Depth matters here: dig too shallow and the shell sits high, dig too deep and you are adding base material back in to compensate.
Excavation is fast compared to the length of a concrete build. Excavating often only takes a single day for a straightforward site. But this is not a hole you can dig on your own – it is professional work. It calls for an excavator and an operator who can read grade and keep the floor of the hole even. Rocky ground, high water tables, or tight access can add time and cost, which is one reason total project figures range as widely as they do.
The soil that comes out has to go somewhere. Some of it is used later to grade the finished area, and the rest is hauled off. Planning the spoil pile in Step 1 keeps this from becoming a surprise.
Step 3: Base preparation with a crushed-stone base
This is the small step with big impact on how well your pool ages. Once the hole is dug, the crew builds and levels a base for the shell to rest on. For fiberglass in most regions, that base is compacted crushed stone, gravel that drains freely and does not shift the way sand can when it gets wet.
A crushed-stone base does two jobs:
- It gives the shell uniform, load-bearing support so the floor does not settle unevenly
- It drains groundwater away from the shell.
That drainage is what lets a fiberglass pool ride out freeze–thaw cycles, the repeated freezing and thawing of ground moisture through winter, instead of being pushed around by it.
In cold or wet climates, a perimeter drain or dewatering system is often added alongside the stone to manage groundwater during and after the build.
The base is graded flat and checked with a laser level or transit. A base that is off by even an inch forces compromises in the next step, so crews take their time here. It is boring to watch, but it is very expensive to skip.
Step 4: Setting and leveling the shell
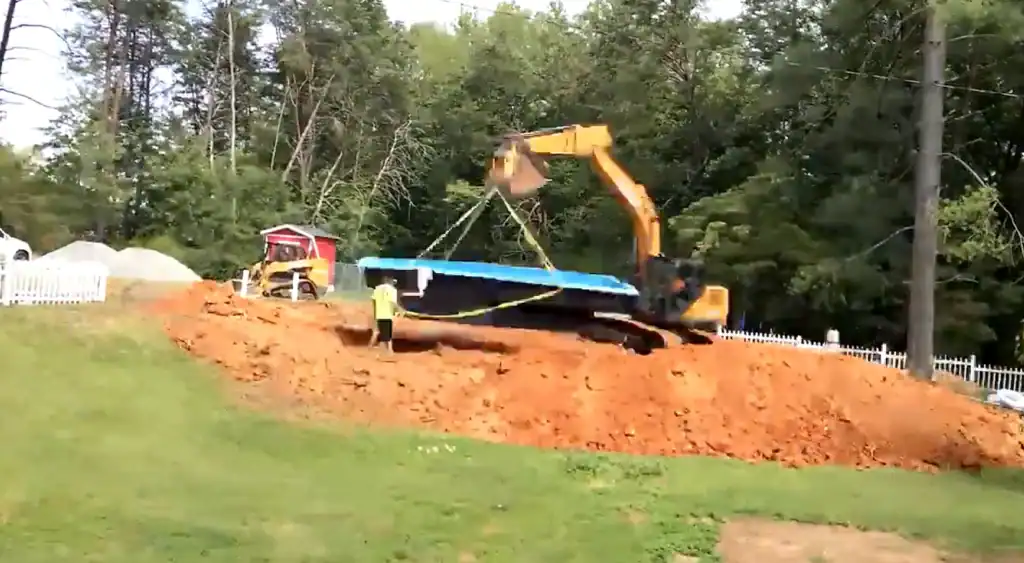
Now the pool arrives. The one-piece shell is lifted off the truck, usually by crane or an excavator with a lifting rig, swung over the yard, and lowered into the prepared hole. It is the most dramatic moment of the whole installation and often the fastest, the shell can be set in under an hour on a good day.
Leveling is the next step for the shell. The crew adjusts the pool shell until it sits perfectly level, checking the waterline all the way around and fine-tuning the base beneath it. A shell that is even slightly out of level will show a crooked waterline forever, so this is a measure-twice, adjust-many-times stage. Once it is dialed in, a few inches of water go into the bottom to hold the shell in place and anchor the level while the next steps begin.
Setting the shell is professional work, but it is also where the factory-direct advantage is most visible. There is no forming, pouring, or curing on-site. The finished surface is already there, ready to be fit with your yard.
Step 5: Plumbing, backfill, and simultaneous water fill
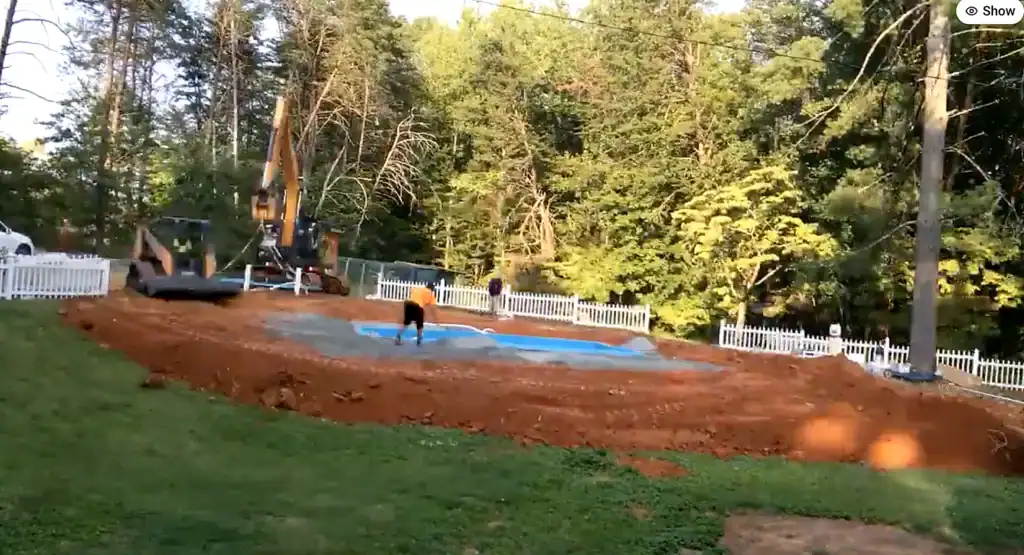
With the shell set and level, now the plumbing goes in. Crews connect the skimmers, returns, and main drain and run the lines out toward where the equipment pad will sit. Lines are pressure-tested to confirm there are no leaks before anything gets buried.
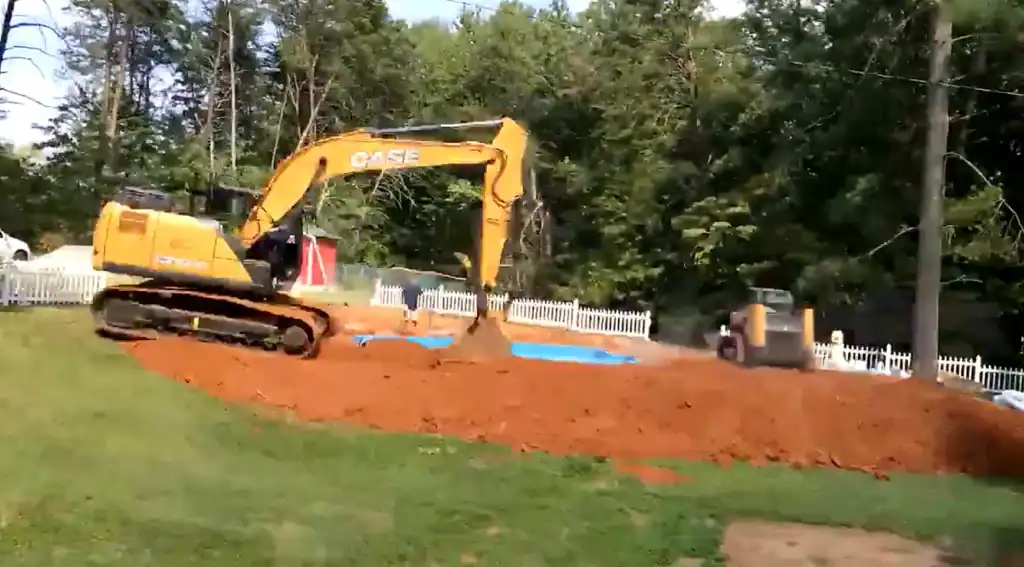
Here is the step people most often misunderstand: backfill and water fill happen at the same time. As the crew fills the pool with water a foot or so at a time, they backfill the same amount around the outside of the shell, usually with the same crushed stone or a flowable fill. Filling both sides together keeps the pressure balanced, so the water pushing out is matched by the backfill pushing in. Fill the pool too fast without backfilling, or backfill without water inside, and you risk bowing a wall or floating the shell. This is why the process is deliberate and why the fill is not just about adding water.
Plumbing is one of the steps where licensing depends on where you live. Many jurisdictions require a licensed plumber for the pool’s water lines, and some fold it into the same inspection as the electrical. On the owner-builder path, this is a coordinate-a-trade step, not a do-it-yourself one. Professional plumbing is the best choice here, and we recommend always verifying licensure so you decrease any chance of issue or liability.
Step 6: Electrical, bonding, and equipment set
Once the shell is anchored and plumbed, the equipment goes on its pad: the pump, filter, and any heater, chiller, or automation you have chosen. The plumbing lines from Step 5 connect here so water can circulate and filter.
The electrical work is non-negotiable professional territory. A licensed electrician wires the pump and equipment, sets the required GFCI protection, and installs the equipotential bonding grid, a network of connections that ties the pool’s metal parts, the water, and nearby surfaces together so stray electrical current cannot create a shock hazard.
Bonding is governed by the National Electrical Code and inspected for a reason: it is a life-safety system, not a formality. If you take only one rule from this guide, let it be this one, electrical and bonding are always a licensed electrician’s job. The Pool & Hot Tub Alliance publishes the construction standards many of these requirements trace back to.
For owner-builders, this is the clearest example of the installation model: you are coordinating a licensed trade on your schedule, not wiring a pool yourself. If you would rather hand the whole build off, our installation coordination arranges vetted pros for exactly these steps.
And to reiterate our advice: we recommend always verifying licensure to reduce any chance of issues or liability.
Step 7: Decking, coping, and finishing the perimeter
With the pool full and the equipment running, attention turns to the space around it. Coping caps the edge of the shell where it meets the deck, giving a finished lip and a clean transition. Then the decking goes in, poured concrete, pavers, stamped concrete, or another surface, tying the pool into the backyard.
Decking is also where safety and code re-enter the picture. Most areas require a barrier or fence around the pool, and the deck layout has to leave room for it. The U.S. Consumer Product Safety Commission’s Pool Safely program is a good reference for barrier and layered-protection guidelines as you finalize the layout.
General advice for safety and practicality: Slope the deck slightly away from the pool so rainwater drains outward, and choose a surface with enough texture that wet feet do not slip.
This stage takes longer than setting the shell, and concrete needs curing time, so the deck is often the part of the schedule that stretches into a second or third week even when the pool itself went in fast.
Step 8: Startup, water chemistry, and your first swim
The last step is bringing the swimming experience to life by filling the pool with water. Once the pool is full, you start the pump and filter and let the water circulate, then balance the chemistry: pH, alkalinity, sanitizer, and calcium hardness.
Fiberglass makes this easier than other pool types. The non-porous gel coat gives algae nowhere to grab, which is why fiberglass runs roughly $350–$400 a year in maintenance, compared with $1,000 or more for vinyl and $2,000 or more for concrete.
Startup usually spans a few days as the chemistry stabilizes and the filter clears the water. A final inspection, confirming the bonding, the barrier, and the equipment, typically closes out the permit.
After that, the pool is yours: smooth to the touch, easy to care for, and built to last 25 years or more, with many fiberglass pools lasting 30 to 50 years with proper care.
That is the full arc of an inground pool install, from a marked footprint on the grass to a swimmable pool with the deck cured and the water balanced.
Owner-builder or coordinated installation: choosing your path
Now that you have seen all of the pool installation steps, the decision between owner-builder or coordinated install is easier to make.
The owner-builder route hands you the biggest savings because you are managing the trades directly instead of paying a full-service builder to charge more for the time spent scheduling. Shells start at $12,500, and a total owner-builder project typically runs $30,000–$50,000 once excavation, base, plumbing, electrical, decking, and permits are counted, saving $10,000–$20,000+ versus a full-service build.
The trade-off is your time and coordination. As an owner-builder, you are the one who:
- Schedules the excavation crew and confirms grade and access
- Lines up the licensed electrician and, where required, a licensed plumber
- Pulls the building, electrical, and barrier permits
- Is on-site for the trades and the required inspections
If you are organized and willing to make the calls, that coordination can save a ton of money. This is an especially good way to go if you have experience as a contractor or know them – that expert knowledge is priceless when your goals are to save time and money.
If you would rather not run the calendar, the coordinated path arranges the same work through a vetted installer network for a hands-off build. We do this all the time for our customers, just like we’re happy to work with owner-builders and home builder partners too. We agree with whatever method you’d like to do that allows you to safely and efficiently get your very own backyard pool.
If you want to weigh the do-it-yourself economics in detail, our guide to owner-builder fiberglass pool installation breaks down which steps you can manage and which ones always need a pro. And when you are ready to put real numbers against your yard and model, our fiberglass pool installation cost guide itemizes where the dollars go.
And if you’re still not sure – please, give us a call, and we can walk you through whichever part of the process you’re still questioning.
Your next step toward a finished pool
The fiberglass pool installation process is faster and more predictable than most first-time buyers expect, but it rewards planning. Get the layout and permits right, insist on a proper crushed-stone base and a shell set dead level, fill and backfill together, and leave the electrical and bonding to a licensed electrician. Do those things, in that order, and the shell that arrived on a truck becomes a pool your family will swim in for decades.
When you are ready to see how the steps line up for your specific yard, size, and budget, request a free, no-obligation quote. We will walk you through models, delivery, the owner-builder and coordinated paths, and an honest total-project number for your area, so the process ahead feels less like a mystery and more like a map.

Frequently asked questions
How long does the fiberglass pool installation process take? Most fiberglass pools are installed in days rather than weeks because the shell arrives finished from the factory. From first call to first swim, projects commonly run one to six months once you include design, permits, and scheduling. Weather, permit timelines, and decking cure time are the usual variables.
Can I install a fiberglass pool myself as an owner-builder? You can act as your own general contractor and manage the project, but “owner-builder” does not mean doing every task yourself. Excavation needs heavy equipment and an operator, and electrical and bonding legally require a licensed electrician. Owner-builders coordinate these trades with our specs and guidance.
Why are the pool and the backfill filled at the same time? Filling the water and backfilling around the shell together keeps pressure balanced on both sides of the pool wall. If you add water too quickly without backfilling, or backfill without water inside, you risk bowing a wall or shifting the shell. The simultaneous fill protects the shell’s shape.
What is the most important step in the installation process? Base preparation and leveling. A compacted crushed-stone base gives uniform support and drains groundwater, and a shell set perfectly level ensures a straight waterline and long-term stability. Getting these right is what lets a fiberglass pool ride out freeze–thaw cycles without problems.
Do I need a permit to install an inground pool? Almost always, yes. Most jurisdictions require a building permit, and many also require electrical and barrier or fence permits. Requirements vary by state and county, so confirm local rules before excavation. Permitting is one of the steps owner-builders most often coordinate with our guidance.
How much does a fiberglass pool installation cost? Shells start at $12,500, and a total owner-builder project typically runs $30,000–$50,000 depending on size, site, and add-ons like a heater or cover. That is a savings of $10,000–$20,000+ versus a full-service build. Excavation, electrical, decking, and permits make up most of the difference.
Latest Posts
How to Get a Swimming Pool Permit in Virginia: Fiberglass Homeowner’s Guide
Does a Pool Add Value at Resale? What Appraisals and Buyers Say
The Fiberglass Pool Installation Process, Step by Step
Budgeting for a Fiberglass Pool: Every Cost Beyond the Shell
Saltwater Pools: Why Fiberglass Handles Salt Better Than Concrete
Delivery Day Checklist: How to Inspect Your Fiberglass Pool Shell
How Much Time Does Pool Maintenance Really Take?
Shipping Container Pools or Fiberglass: Which Is Better?
Fiberglass vs. Natural Swimming Pools: A Practical Cost and Maintenance Comparison
Fiberglass vs. Gunite Pools: How Construction Method Shapes Lifespan and Care
Visit Our Blog
Share This Post
(opens in a new tab)
(opens in a new tab)
(opens in a new tab)